























































 How to Use the Hipposerve® Studio Picture Widget
The Picture widget in Hipposerve® Studio allows you to add images, photos, graphics and visual content to your website. Images help bring pages to life, improve engagement and create a more professional appearance.
You can upload your own pictures, use images from the free gallery, or customise images with effects such as borders, shadows, cropping and clickable links.
 Adding a Picture
To add a picture to your website:
- Drag and drop the Picture widget from the main toolbar onto your page.
- Select the picture layout or composition you would like to use.
- Select an image from the free gallery or upload your own picture.
 Editing a Picture
Once a picture has been added, you can easily replace or update it.
To edit a picture:
- Select the image on your page.
- Click Change Picture on the context toolbar.
You can then choose an image using one of the following options:
- Upload New Picture: Upload an image from your device.
- Free Gallery: Search the free image gallery for pictures.
- Picture URL: Import an image directly using its web address.
 Customising Your Picture
The Picture widget includes several tools to help customise the appearance of your images.
 Cropping
Use the crop tool to adjust the visible area of the image by resizing or repositioning the crop area.
Click the checkmark icon to save your changes.
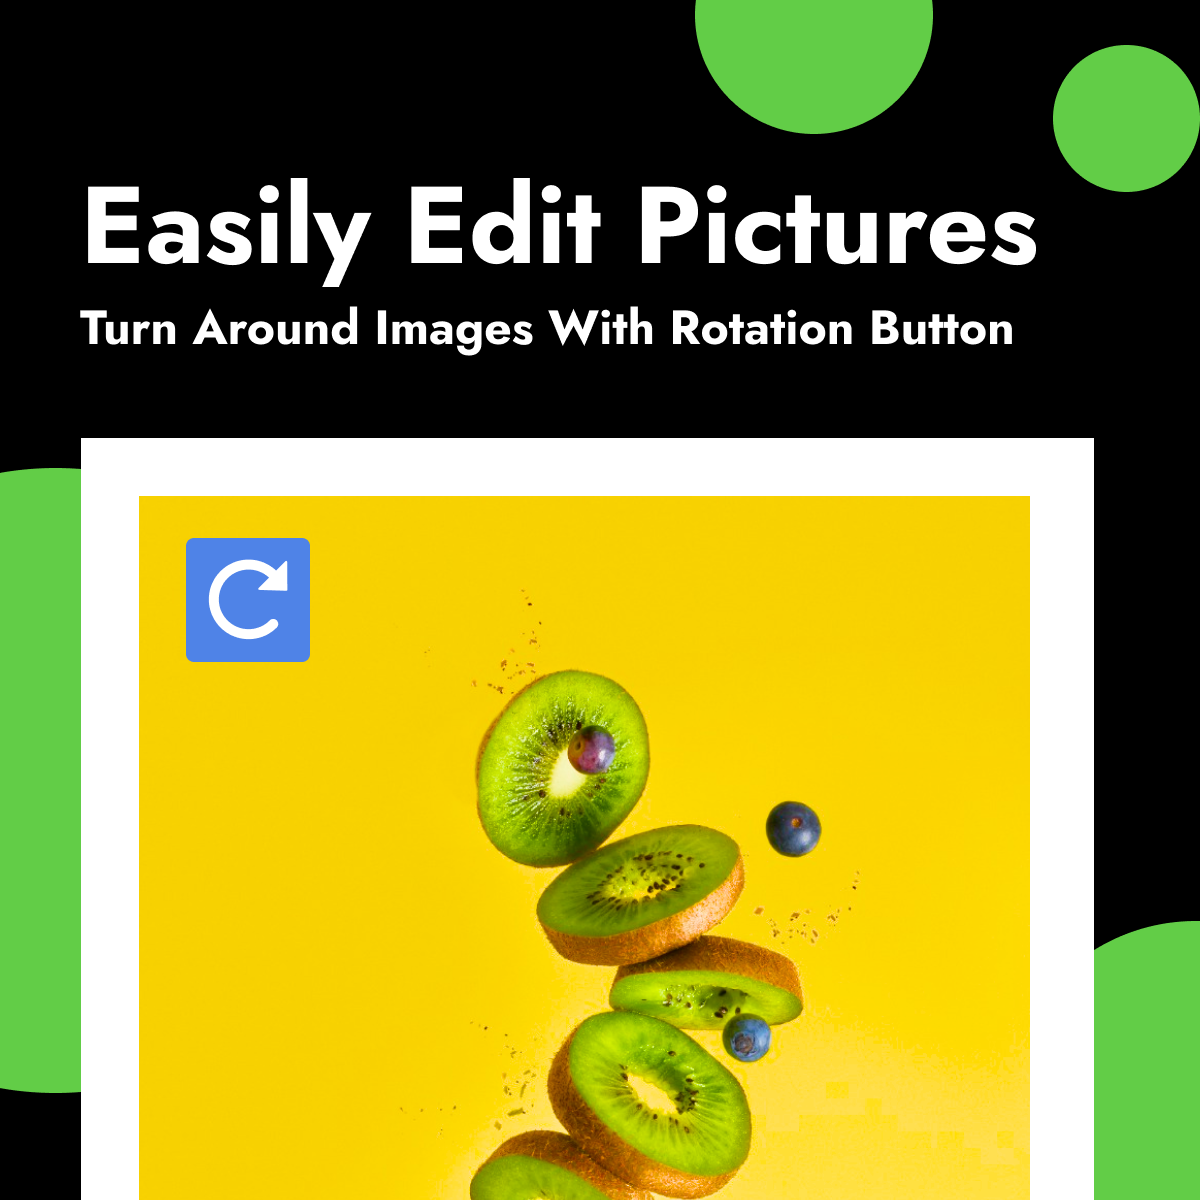
 Rotation
Use the rotate tool to turn the image clockwise.
 Opacity
Adjust the transparency level of the image using the right-hand toolbar.
 Alternative Text
Add alternative text (alt text) to describe the image for accessibility and search engines.
 Borders
Click the border settings icon ( ) in the right toolbar to customise border width, colour and style.
You can also apply different border styles to individual corners.
 Shadows
Click the shadow settings icon () in the right toolbar to customise shadow size, blur, colour and distance.
 Click Actions
You can choose what happens when visitors click an image.
Options include enlarging the image or opening a custom URL link.
 Image Size
Adjust image width and height using the size controls.
 Preview Example
The image below shows the image rotation controls inside Hipposerve® Studio.