























































 How to Use the Hipposerve® Studio Music Player Widget
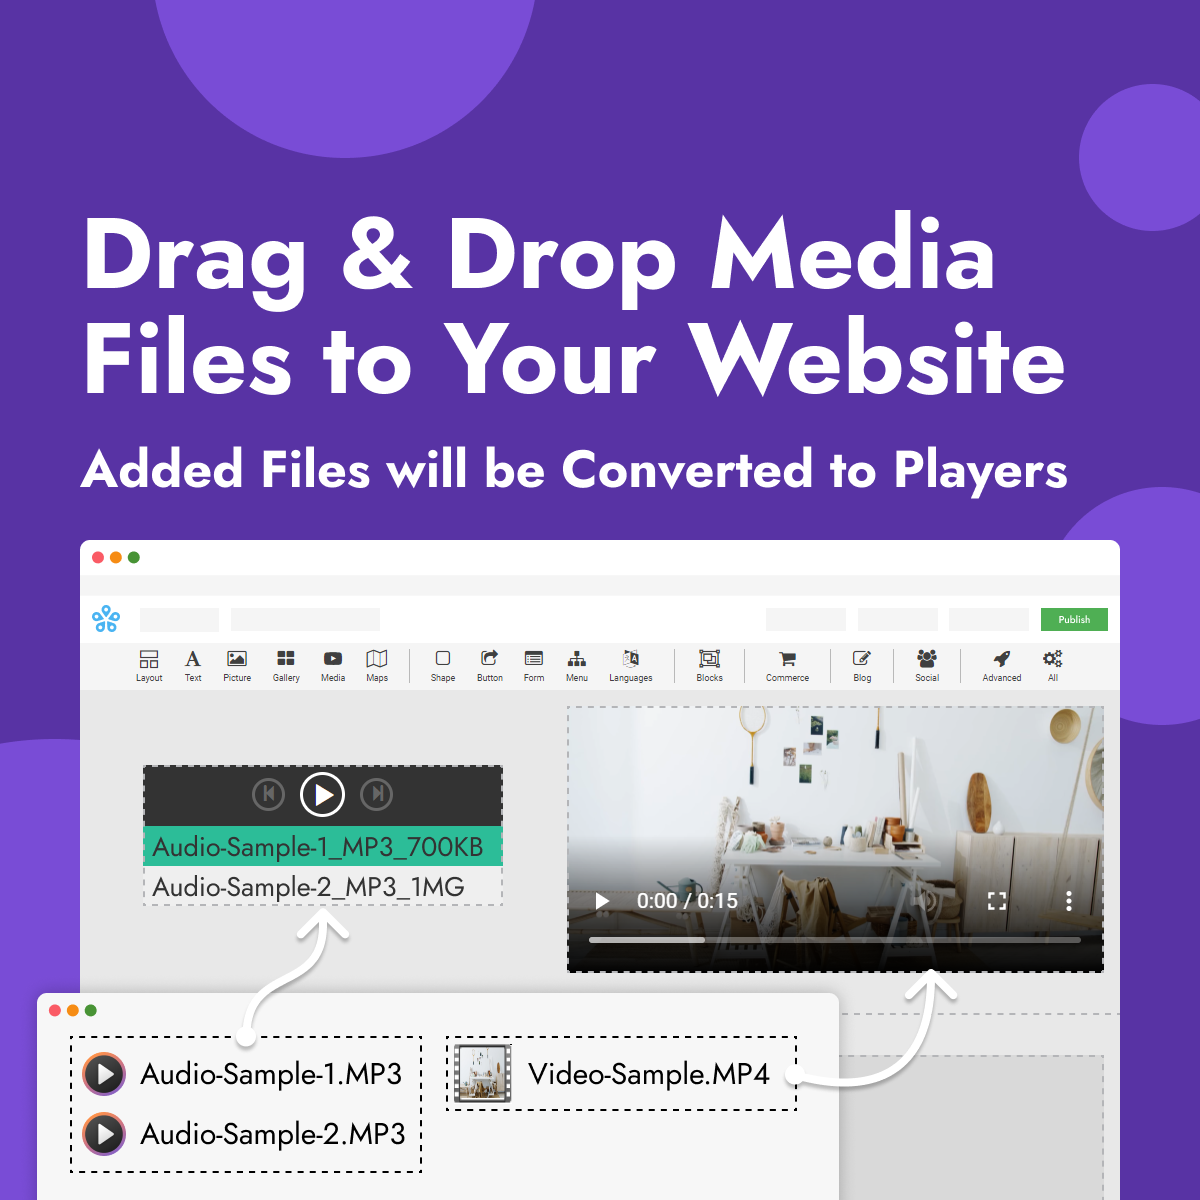
The Music Player widget allows you to add audio files directly to your website. It's perfect for musicians, podcasts, background music, audio samples or any content you would like your visitors to listen to.
You can upload one or more audio files and customise the appearance and behaviour of the music player to match your website.
Adding a Music Player
Adding a music player to your page is quick and easy.
- Drag and drop the Media widget onto your page.
- Select the Music Player composition.
- In the right-hand toolbar, click MP3 File(s).
- Upload one or more audio files.
 Customising Your Music Player
The Music Player widget includes several options to customise its appearance and behaviour.
 Player Controls
Select the Music Player and open the Controls section in the right-hand toolbar.
You can customise the colours of the player buttons and background using the colour picker.
 Playlist Appearance
Customise the appearance of your playlist by changing the colours of the song titles, artist names and playlist background.
 Player Size
Adjust the size of the music player using the controls in the right-hand toolbar.
You can also enable Allow to adjust size automatically so the player automatically adapts to different screen sizes.
Automatic Playback
If you would like music to begin automatically when a page loads, enable Start playing when page is loaded in the right-hand toolbar.
 Supported Audio Formats
The Music Player supports the following audio formats:
MP3, AAC, WAV, RA, MIDI, RAM, WMA, OGG, APE, M4A and M4V.
 Best Practices
- Use high-quality audio files for the best listening experience.
- Compress large audio files to improve page loading speeds.
- Create playlists by uploading multiple tracks.
- Enable automatic sizing for the best display on all devices.
- Avoid automatic playback where possible, as many visitors prefer to choose when audio starts.