


Service Management: VPS Backup
The Hipposerve® VPS Backup service provides a full disaster recovery backup of your entire VPS instance. This type of backup captures the full server environment including the operating system, configuration, installed software, and all stored data.
This is different from a traditional data backup. A data backup typically protects only files or databases. A disaster recovery backup allows you to restore the entire VPS server to a previous working state in the event of a serious issue such as system corruption, failed updates, or accidental configuration changes.
Backups are taken on a schedule of yoru choosing and a maximum of 2 full backups are stored. Backups are automatically overwritten by the next backup cycle.
This type of backup is highly recommended because it allows you to quickly recover your entire server if something goes wrong. Instead of rebuilding your VPS from scratch, you can restore a working snapshot of your system.
Important Notes
- Optional Service: VPS backups are a paid optional extra. If you did not order this when setting up your VPS, please contact support at https://support.hipposerve.com and we will enable the service for you.
- Backup Scheduling Required: Before backups can be taken, you must first create a backup schedule. If a schedule is not configured, no backups will be created. Hipposerve® cannot accept responsibility for any data loss if backups have not been scheduled.
Accessing the Backup Manager
- Open your VPS in the Hipposerve® Portal (see here).
- Click on the Backup icon within the Service Management tools.
Scheduling a Backup
Before backups can be taken, you must first schedule them.
- Click the Schedule Backup button.

- The backup scheduler window will appear.
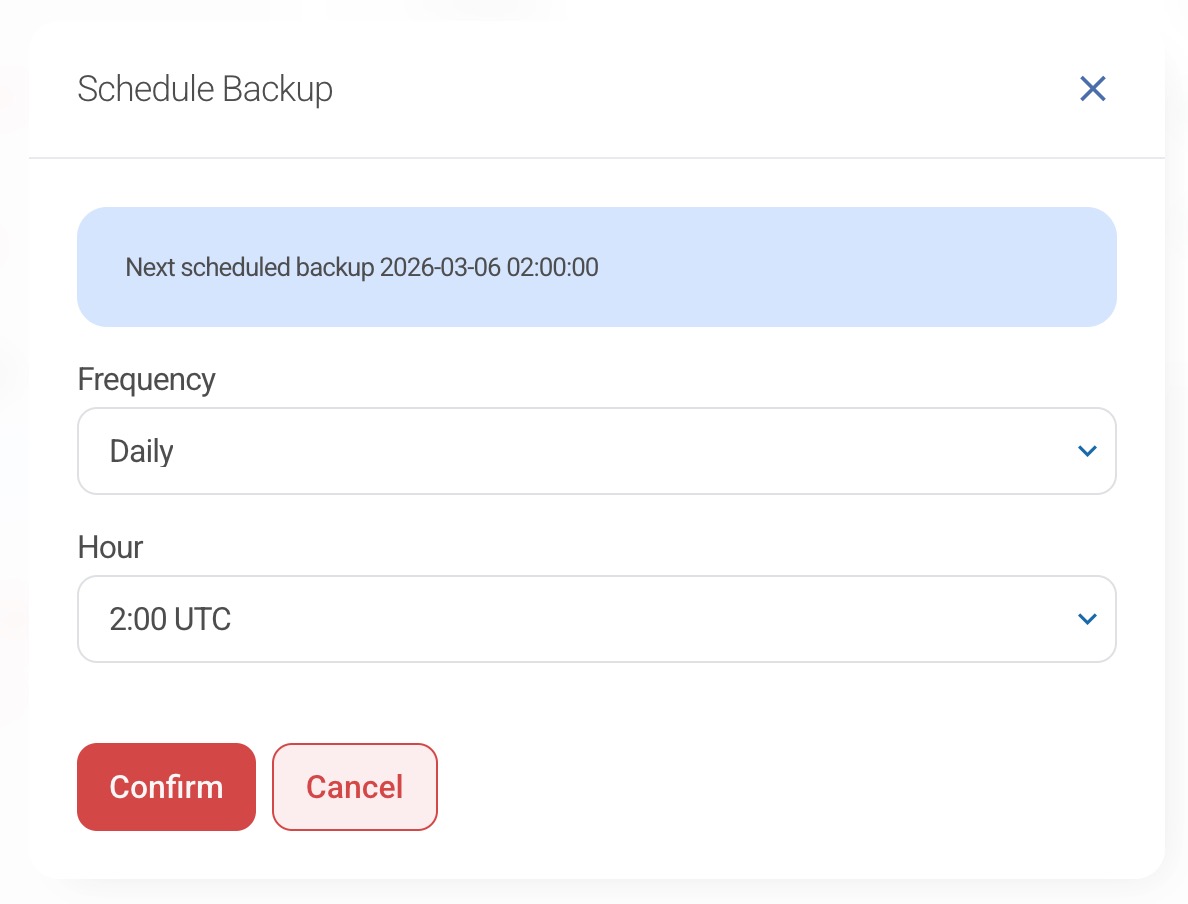
- Select the desired backup frequency.
Backup schedules can be configured as:
- Daily
- Weekly
- Monthly
Choose the option that best suits your needs.
It is recommended that backups are scheduled at a time when your server is least busy (typically overnight). If backups are scheduled during busy periods, they may not complete successfully.
- Click the Confirm icon to save your backup schedule.
Your backups are now configured and will run automatically according to the schedule you selected.
Your Backup List
Once backups have been successfully created, they will appear in the backup list.
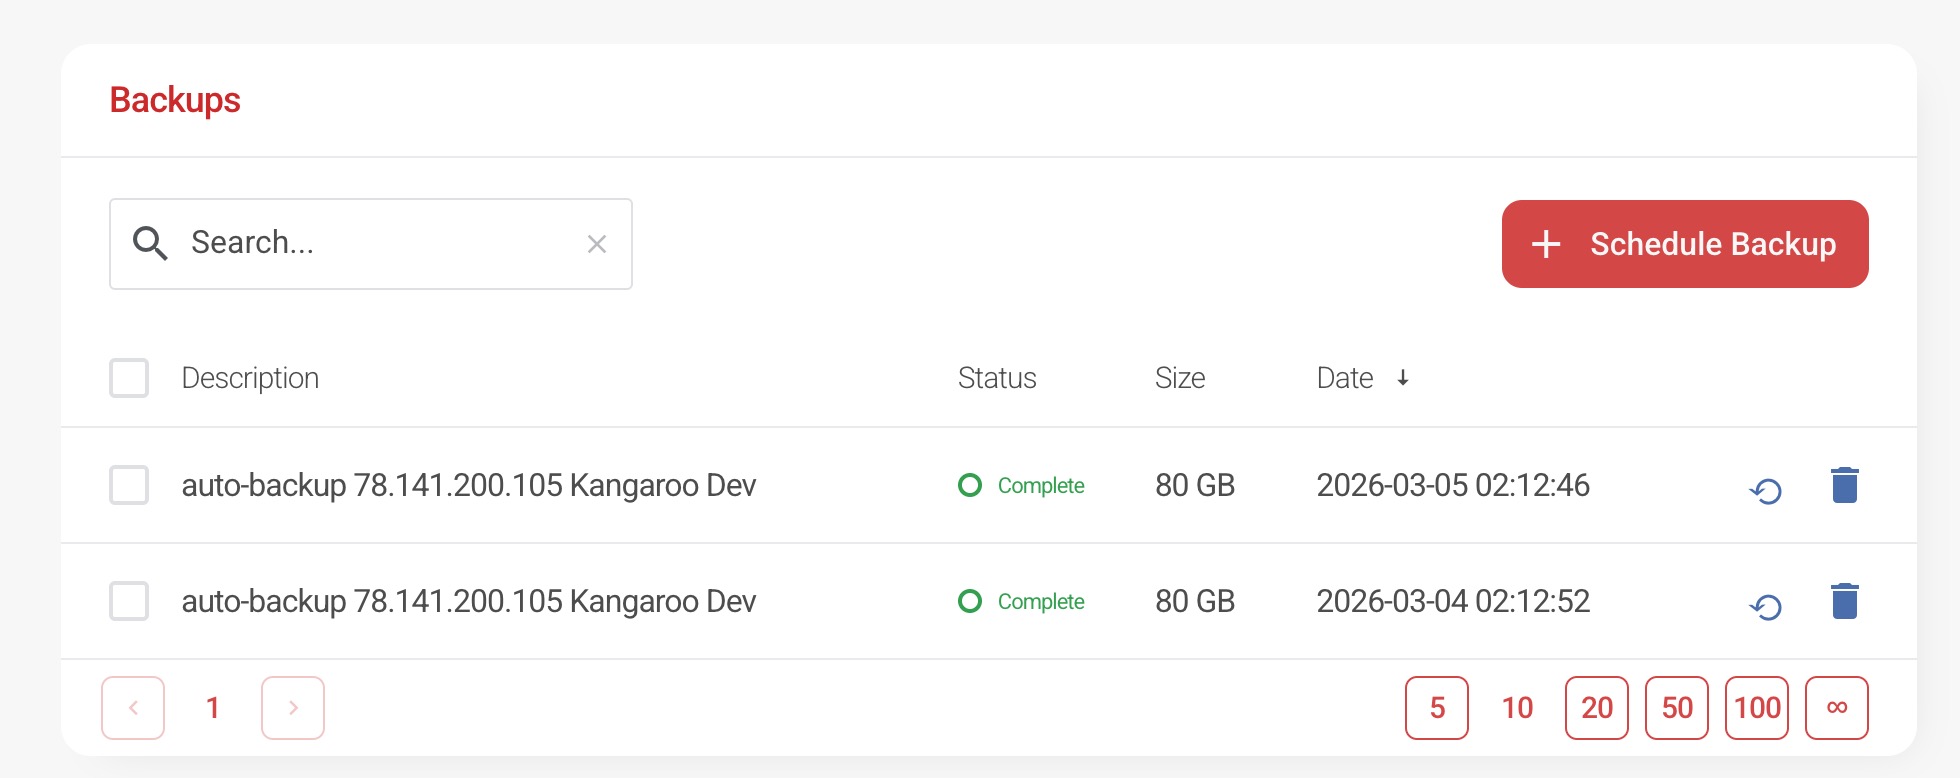
This list shows all available restore points for your VPS.
Restoring a Backup
If you need to restore your server:
- Click the Restore icon next to the backup you wish to use.
![]()
- The restore confirmation dialogue will appear.
- Click Confirm to begin the restore process.
The time required to restore a backup depends on the size of your VPS. For larger servers this process may take several hours. During this time your VPS will not be available.
Disclaimer: Restoring a backup will overwrite all current data on the VPS with the contents of the selected backup.
Deleting a Backup
If required, you can manually delete a backup:
- Click the Delete icon next to the backup you wish to remove.
![]()
This will permanently remove that backup from the list.


