Select the Email Service

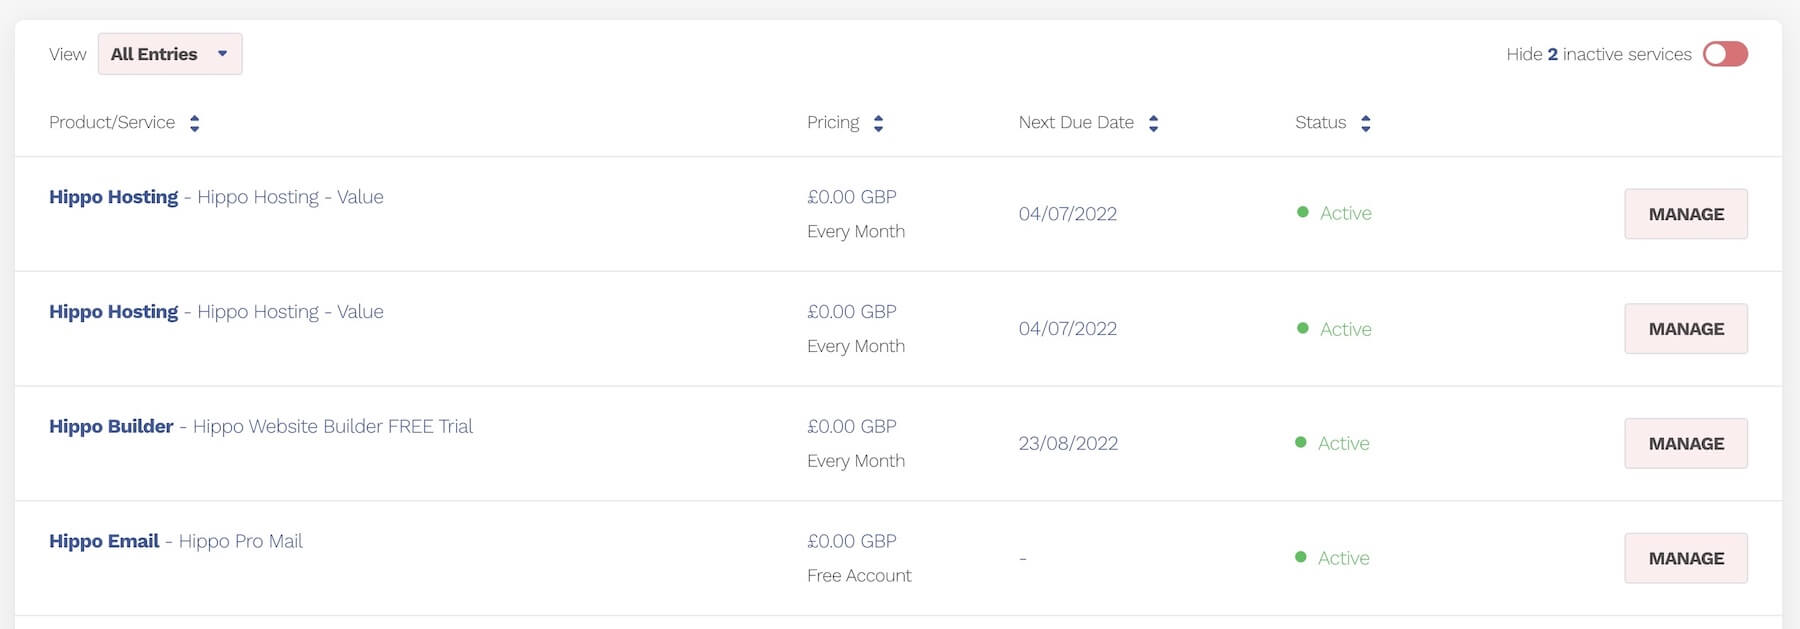
  • Go to the  menu and click on My Services

  • Select the Hippo Pro Email service that you would like to manage.
  • Click on the Manage Service button.


Go to Your Mailboxes (Mail Accounts)

  • Click on the Mailboxes Button


Check your Account Quota

  • Your account quota shows you how many mailboxes (accounts) you have used against the number purchased. It also shows how much quota you have available for your emails.

  • If you have used all your available accounts, you will see this message.


Assign an Email

  • Assign an email by clicking on the Add mailbox Button

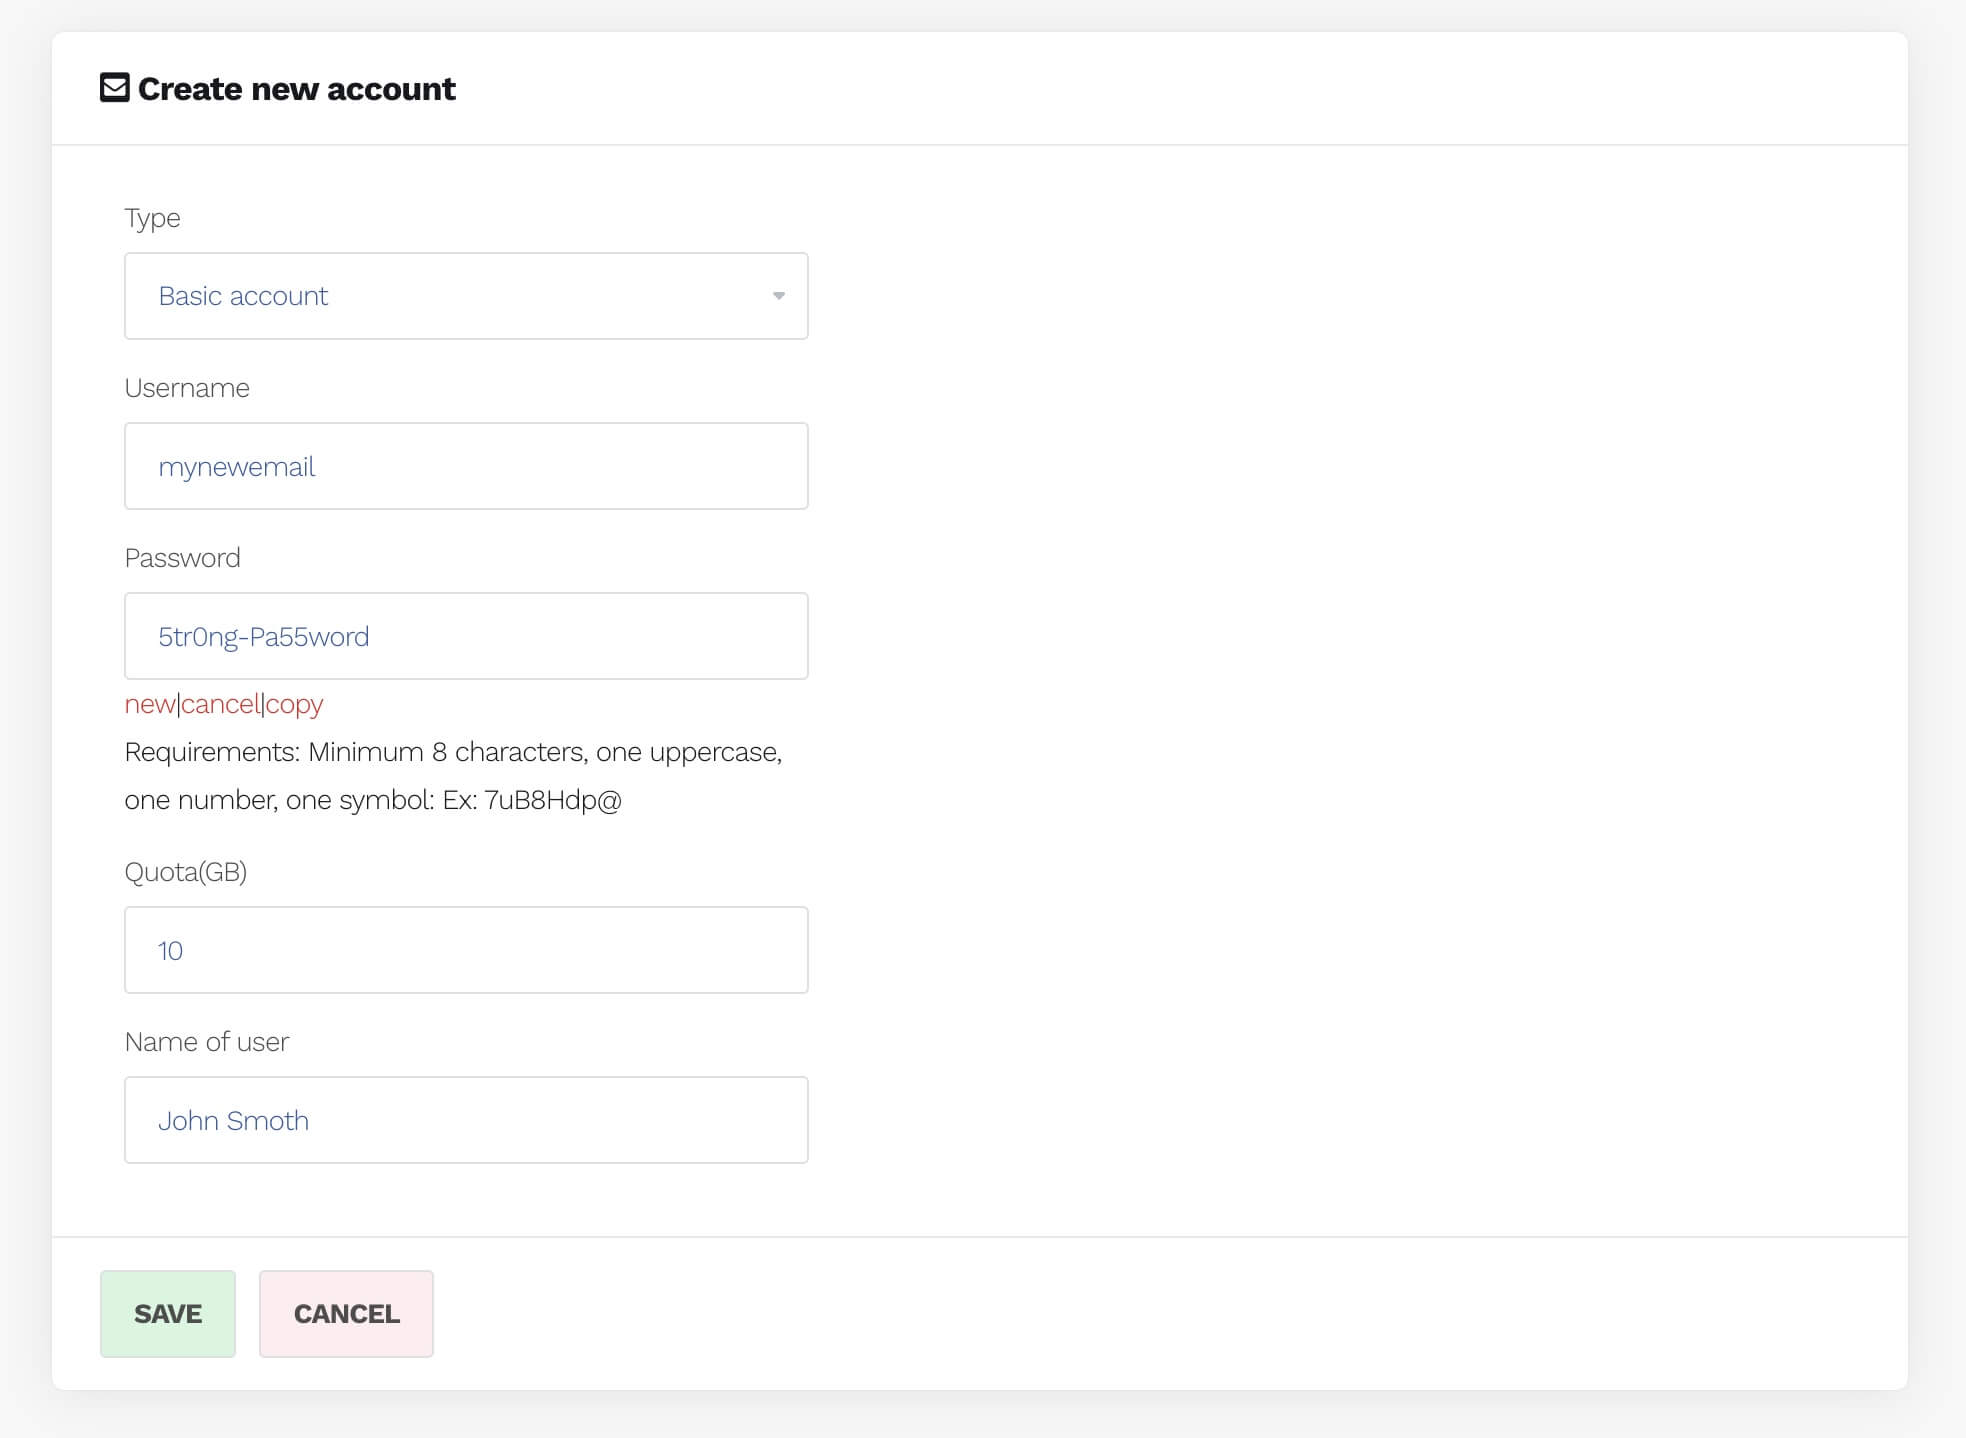
  • Complete the form below

  • The username is the bit in front of the @ in your email address. e.g myemail@mydomain.co.uk
  • The password needs to meet the criteria shown.
  • The quota is in GB. This can be any value, as long as it doesn't exceed the available quota limit of your total account. (see previous step)
  • Name of User. This is the name shown when the email is sent.
  • When you have completed this, choose Save.

Use Email

  • Once created, you can access the email by using webmail, or by adding the account to an email client such as outlook or thunderbird.

Knowledgebase Disclaimer

Our services often use third-party software that receives regular updates. While we strive to keep our knowledge base current, there may occasionally be minor discrepancies between our guides and the actual interface. Screenshots might not always reflect the latest user interface, though the functionality should remain unchanged. Please report any discrepancies or omissions to support@hipposerve.com

Translations: We strive to ensure that the translations in our knowledge base are accurate. However, translating screenshots or text on images, especially with third-party applications, is not always possible.

Was this answer helpful? 0 Users Found This Useful (0 Votes)