


Introduction
If you need to assign more emails to your account, you may need to upgrade it to add more mailboxes. Your initial account comes with a minimum of 1 mailbox, unless you opted to include more. This knowledge base explains the process of adding new mailbox accounts.
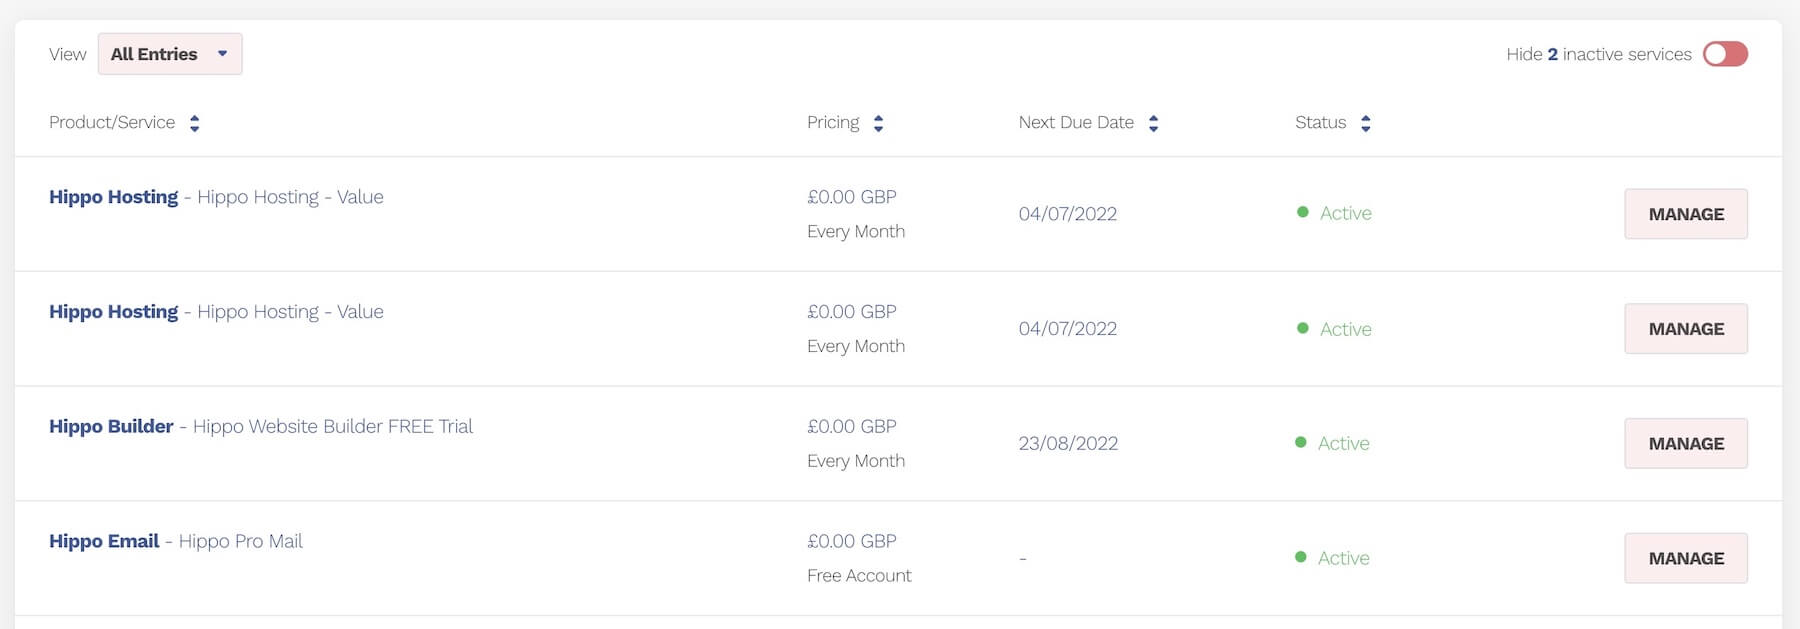
Select the Email Service
- In your Hippo Portal Go to the menu and click on My Services

- Select the Hippo Pro Email service that you would like to manage.
- Click on the Manage Service button.
Go to Your Mailboxes (Mail Accounts)
- Click on the Accounts Button

Upgrade Your Account
- If there are not enough mailboxes on your account, when you go to assign emails, you will see the following message.

- To add more mailboxes, click on the "purchase additional mailboxes" button
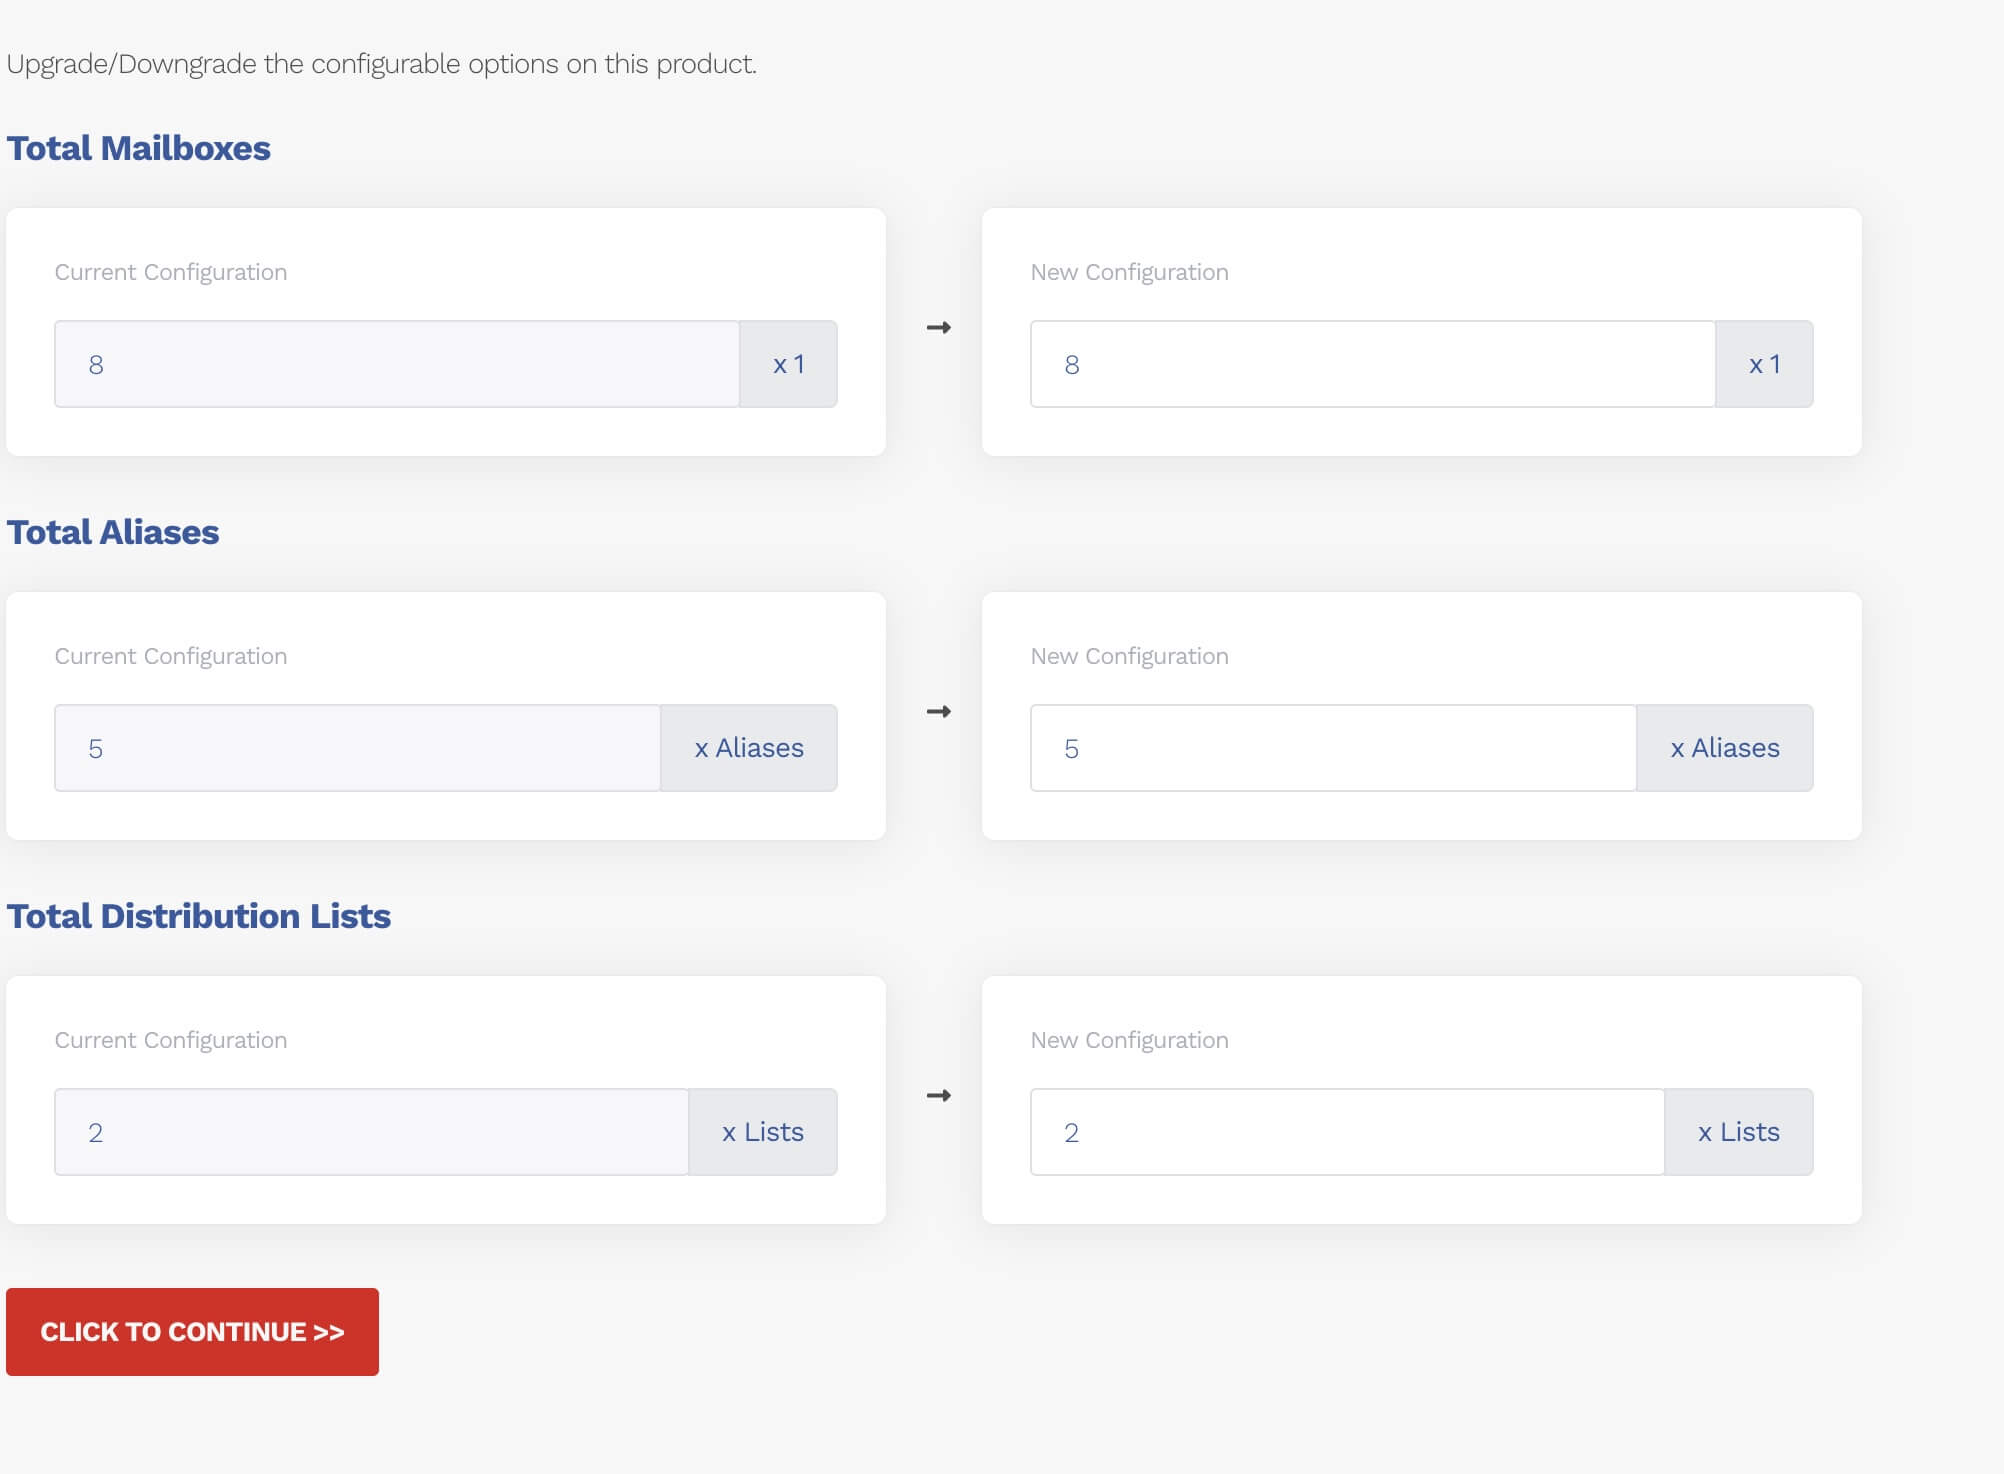
Choose the Required Number of Mailboxes
- In the dialogue box, select the number of mailboxes and/or other elements if available.
Confirm Your Selection
- Confirm that the details are correct.
- The charge for the new mailbox will be prorated to your next billing cycle.
- Click on continue to place your order.
Assign Emails to the Mailbox
- Once you have added the new mailbox(es), you can assign emails to them.


